Since rekindling an interest in photography seven years ago, I’ve read countless articles and books – and in the last few years consumed a lot of YouTube content – on all sorts of photography topics, from exposure to composition. While I suspect many of you who might read this are not especially interested in the intricacies of using shutter speed, aperture, and ISO to control the amount of light hitting your camera’s sensor (thus controlling exposure), I do think most people want to take better pictures. And this is true whether they are using a high-end, interchangeable lens camera, or an iPhone. So here’s a tip that anyone can use to take better pictures, especially when the pictures are of people:
Shoot in the shade
But wait, don’t you need your subject to be well lit? Well, you do need light. But sometimes you can have too much. Shooting in a shady spot with even light can result in a much more pleasing image while avoiding distracting bright spots or squinting subjects.
In the first example, I was trying to take a picture of my daughter on the first day of school. It was mid-morning, and the sun was already up and very bright. We took some shots in the backyard, but despite setting the camera to expose just for her face (something, by the way, that you can actually do with an iPhone), it still resulted in a very bright background. With some editing, I could have rescued the shot, but I knew we could do better “in camera”.
Distracting bright background and “dappled” light
So we found a shady spot on the side of the house where not only was the kid in the shade, the background was of similar brightness. And the result was a much more pleasing image. The light was a lot more even, and the resulting image didn’t need a lot of sprucing up (i.e., editing).
Using a shady spot and even light for better results
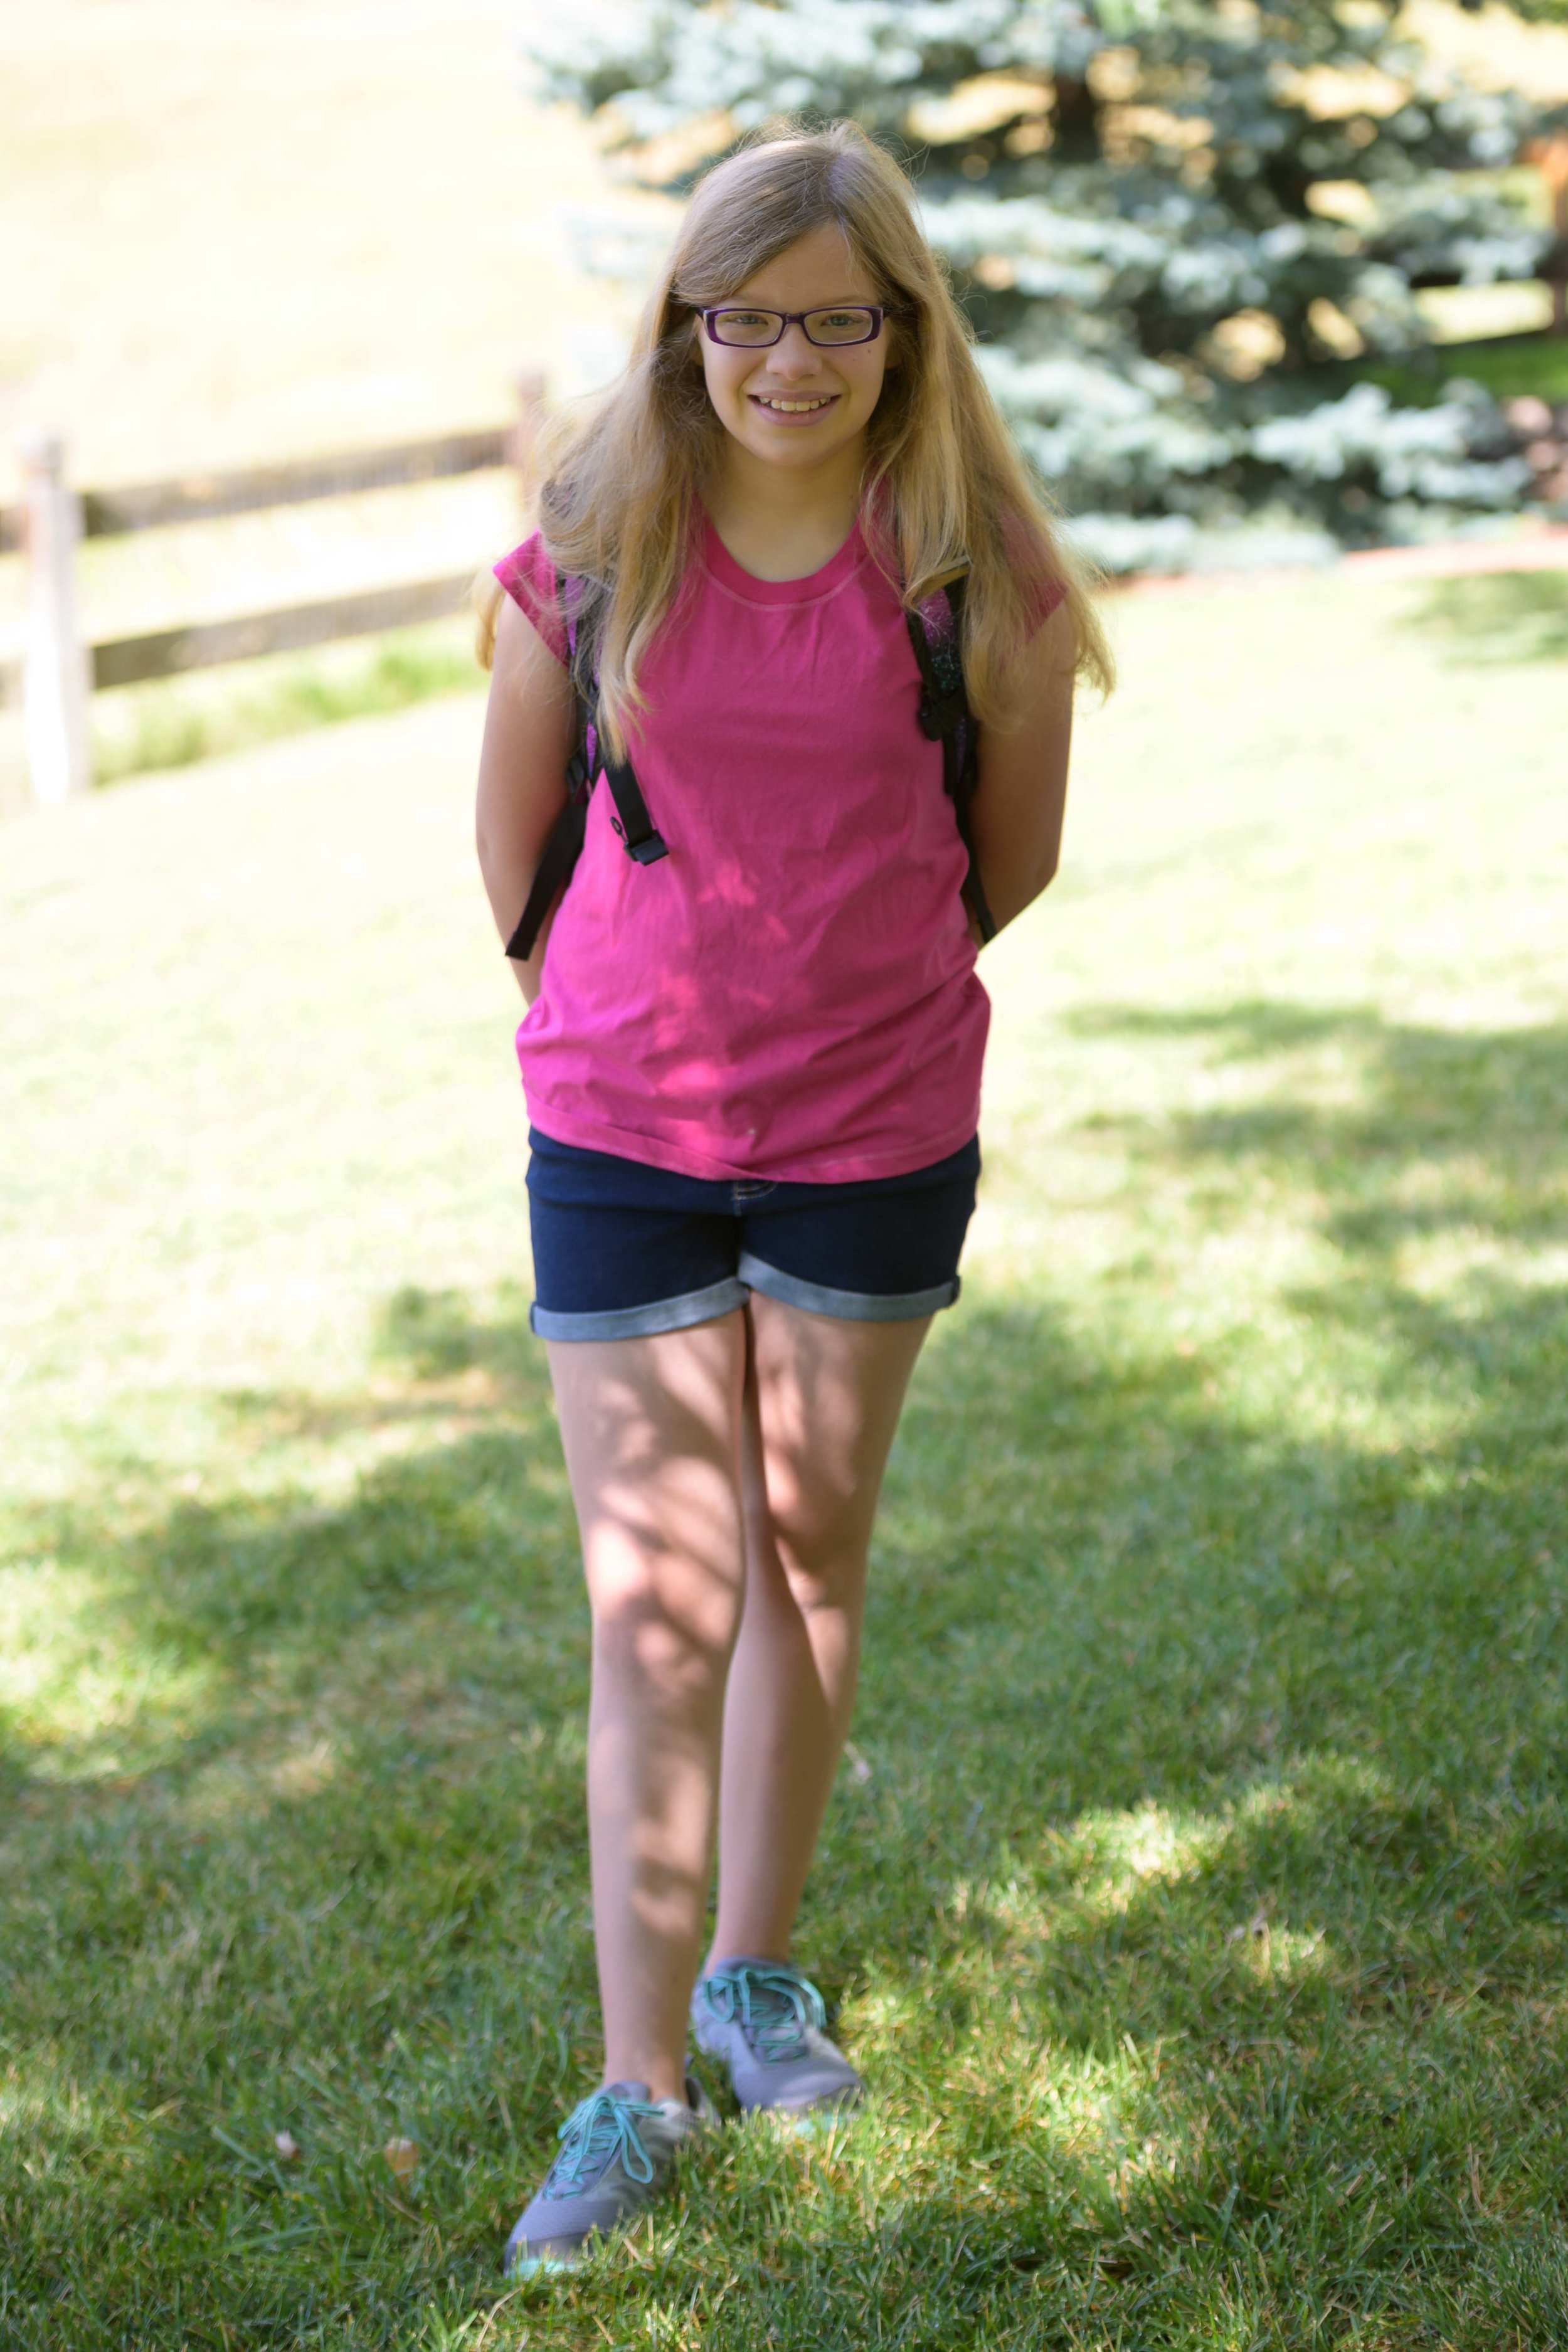
While on this subject, it’s also good to avoid “dappled” light – little bits of sunlight filtering through leaves and the like. While there may be times such light could serve your purposes, portraits are not usually one of them. Though I think my kiddo looks really cute in this third picture (yes, I realize I am biased), the light and shadows hitting her face and body are distracting and don’t improve the picture. So try avoiding dappled light if you can.
Still a cute kid, but the dappled light distracts from the image
Finally, if you are shooting in the sun, try positioning the sun (if it’s not too strong) behind or to the side of your subject, as I did in the next photo. In this example, the side lighting gives her face dimension and provides highlights to her hair. Had I positioned her with the sun directly on her face, she couldn’t have avoided squinting. Alternatively, I could have positioned her with the sun to her back and set the exposure to light her face well. Or I could have used a flash to fill in the shadow that would have been cast on her face. But the fact that we were in the middle of a parking lot and the background in this direction was the most pleasing made this orientation the one I could manage the most quickly and easily. And I think the result we good enough!
Not shot in shade, but the side lighting and early morning hours still provide a nice result
By the way, you can find information on setting exposure on your iPhone here. (I’m sure the cameras on other phones work similarly – a quick Google search should get you information for your phone.)
So the next time you’re taking pictures of people, whether with a dedicated camera or your phone, try looking for a shady spot with even light. I think you may be pleased with the results.


